Special Guest Article: Finding Solace in Cement
How many of you remember this penguin from last week?

Today I have a wonderful article for you as promised from Beth Metrock. I showed you the penguin above and a bit of her work last week in the Art Abandonment Project article and told you I would ask if she would be willing to teach us how to do cement art this week. She was! I hope you enjoy it!
Finding Solace in Cement
Beth Metrock
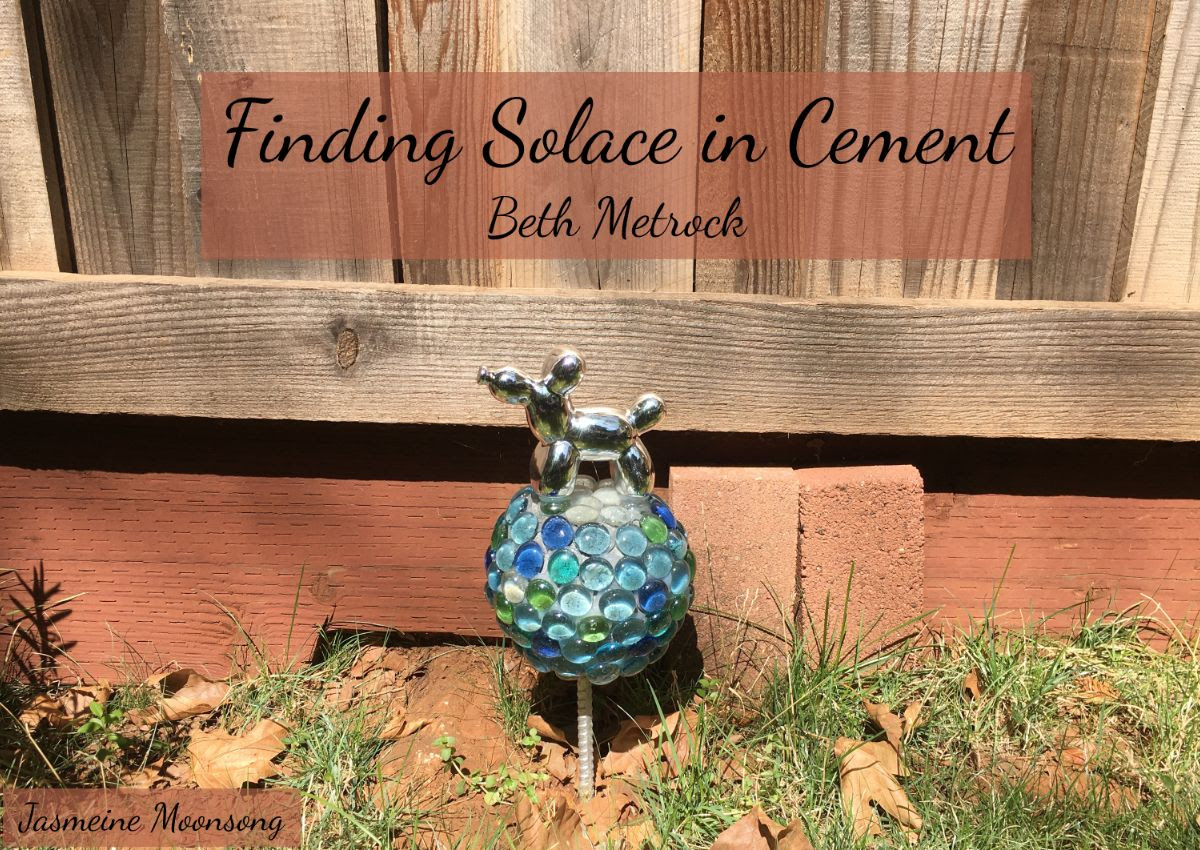
Solace comes in all forms and appears to everyone in different ways. I have recently discovered a calming art form: cement. I belong to a Facebook group called Art Abandonment. I love looking at what others have abandoned. One woman, Constance Tenhawks, an artist from Milwaukee, Wisconsin, abandoned a big ball covered with marbles. It had rebar coming out the bottom and it was stuck in the ground. I was so intrigued that I contacted her and she told me it was made from cement. Cement! Awesome. I went to Home Depot, bought some cement, and the art journey began. If you, too, are interested in dabbling in cement art, here is the list of supplies and the steps involved in creating art.
Supplies
- Bucket of Cement Patcher quick set (comes in 10 and 20 pound buckets, or 40 pound bags). I suggest the 10 pound bucket first. It goes a long way and gives you a chance to see if you like working with cement.
- Water bottle
- Plastic bowl you don’t care about
- Metal spoon
- Big scooper
- Spray vegetable oil (cheap is fine)
- Something to pour the cement into. I bought glass bowls from Dollar Tree to start with, but now I’ve branched out to silicone molds used for candy.
- ⅜” X 12” rebar
- Glass marbles or Dragon Tears
- Silicone glue

Steps
- Spray the inside of the glass bowl with vegetable oil and any molds you are using
- Put a couple of big scoops of cement into the plastic bowl.
- Add enough water to make it wet and start stirring. You are aiming for the consistency of thick pancake batter. Too thin and the cement breaks later, too thick and it won’t pour correctly.
- Pour the cement into the glass bowl (or mold if that is what you are using).
- If you intend for the cement ball to be stuck into the ground, put the rebar in and prop it up on both sides so that it stays in the middle.
- This is the hard part: go away and leave it alone for a day. Yes, it hardens quickly, but it is not really set.
- If you used a glass bowl, put it in a paper bag.
- Hit the bowl with a hammer and shatter the glass.
- Rinse the cement
- Now the next stage of the fun happens: gluing on marbles with silicone. So MUCH fun. Put a dab on each marble, stick it on the cement, hold it in place for a few seconds, and then move onto the next marble. You can only do a small section at a time (the section facing up) as the mables will slide off the sides.
- If you are using molds, I paint them with acrylic paint. I use spray paint for anything that is only one color.
- I finish by spraying Krylon as a sealant.

Cement art is wonderful because you are only limited by your imagination. I have used old Acai bowls, paper towel tubes, the bottom half of a milk carton, and a pickle jar as cement forms. I have turned some pieces into candle holders.

Each is unique and decorating is different for each, as the size and shape dictates what looks good. I currently am enjoying using silicone molds and painting them. Since this all started because of Art Abandonment, I leave finished pieces around town. I have several of the bigger pieces in my yard; I like them too much to part with them. 🙂

Happy Cementing!

